
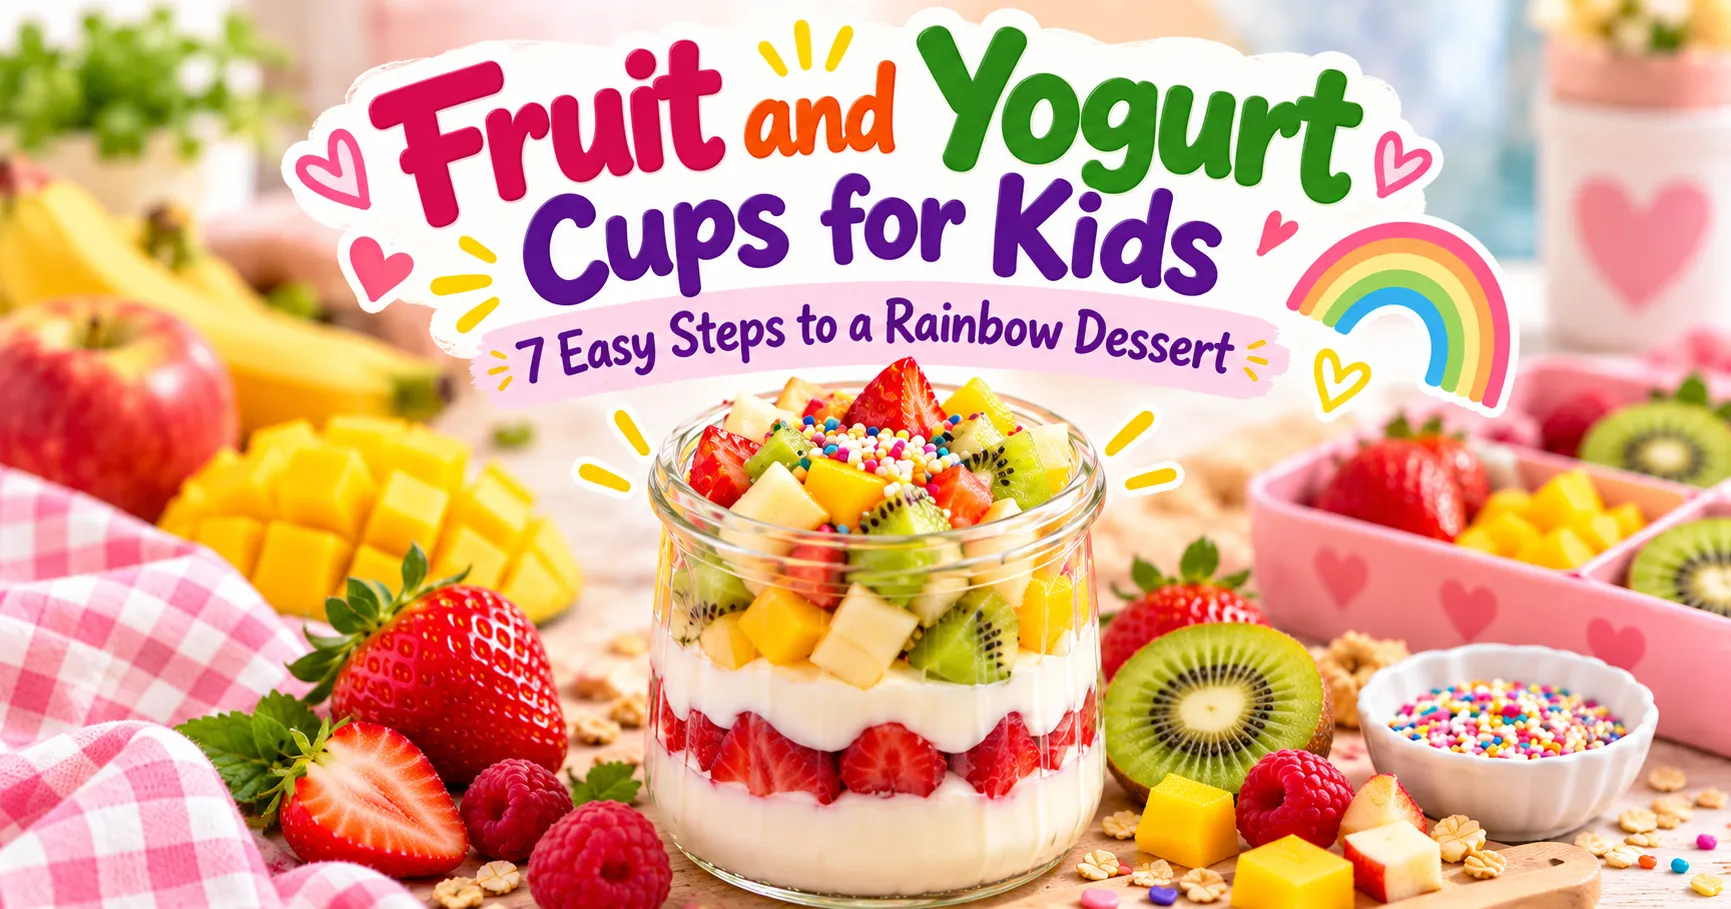
Fruit and Yogurt Cups for Kids: 7 Easy Steps to a Rainbow Dessert
There’s something magical about a tiny dessert that looks like it came from a fancy café but actually took you ten minutes to prepare.
Especially when your kitchen is already full of lunch containers, half-cut fruit, and that one spoon nobody remembers using.
Today, I’m sharing one of my favorite little creations: fruit and yogurt cups for kids.
They’re creamy, colorful, refreshing, and almost too pretty to eat.
Almost.
Because the moment I layer the bright red berries, creamy vanilla yogurt, and colorful fruit, I’m suddenly very interested in making an extra cup for myself.
Mom deserves dessert too, right?
The best part is that you don’t need special equipment or complicated ingredients.
Just yogurt, fresh fruit, a little creativity, and a small container.
👩🍳 Recipe at a Glance
Nutrition values are estimates and may vary depending on the yogurt, fruit, and toppings used.
What Are Fruit and Yogurt Cups for Kids?
Fruit and yogurt cups are simple layered desserts made with creamy yogurt and chopped fresh fruit.
This rainbow version combines vanilla yogurt with strawberries or raspberries, mango, kiwi, and apple or pear.
The colorful layers make the dessert visually appealing, while the yogurt and fruit provide a combination of dairy nutrients, fiber, and natural sweetness.
They’re ideal for school lunchboxes when packed in a leakproof container and kept properly chilled.
Ingredients for Rainbow Fruit and Yogurt Cups
These suggested quantities make four small dessert cups.

How to Make Fruit and Yogurt Cups for Kids in 7 Easy Steps
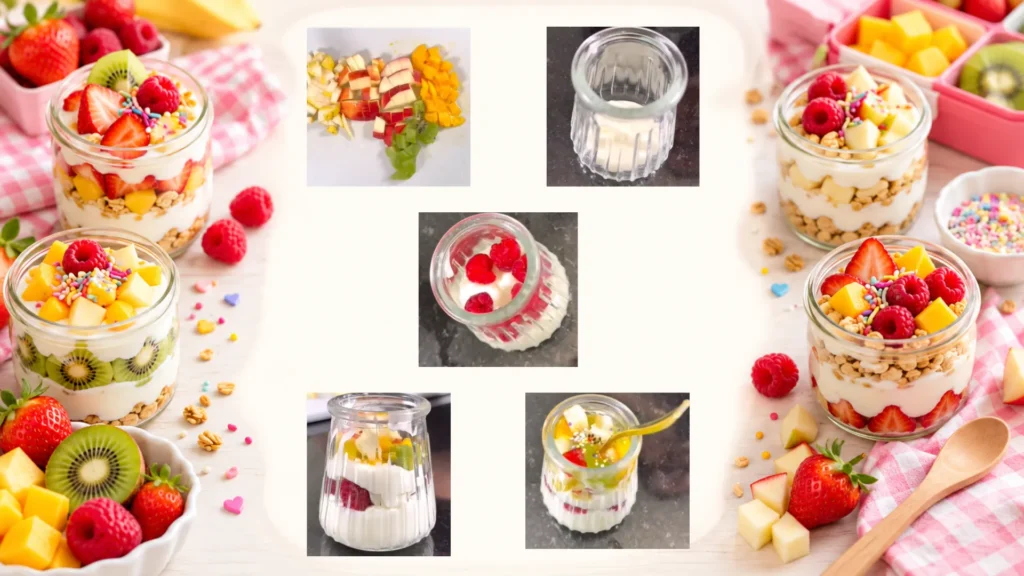
Step 1: Choose Your Yogurt
I start with vanilla yogurt because it has a creamy texture and a flavor that pairs beautifully with fruit.
For this dessert, I use approximately half of the yogurt for the first layer and save the rest for the middle.
You can choose plain yogurt if you prefer less added sugar, or use a suitable unsweetened yogurt and let the fruit provide most of the sweetness.
I also recommend choosing a yogurt thick enough to hold the layers without immediately becoming watery.
Step 2: Add the First Yogurt Layer
Spoon a little yogurt into the bottom of each small dessert cup.
I like to make the bottom layer thick enough to be clearly visible through the container.
There’s something so satisfying about seeing those neat white layers.
You don’t have to make them perfect.
Trust me, nobody at school is going to inspect your yogurt with a ruler.
Step 3: Add the Red Berry Layer
Next, scatter a small handful of strawberries or raspberries over the yogurt.
I love how the red fruit contrasts with the white base.
If you’re using strawberries, wash them, remove the tops, and cut them into pieces appropriate for your child’s age.
Raspberries can also work beautifully, especially when they’re fresh and firm.
Avoid crushing the berries too much or the juice will start blending into the yogurt before the cups are even finished.
Step 4: Add Another Creamy Yogurt Layer
Now spoon another layer of vanilla yogurt over the berries.
This creates a beautiful contrast between the red fruit and the creamy white yogurt.
I use the back of a spoon to gently smooth the surface.
The idea isn’t to cover every piece of fruit perfectly. I actually like when a little color peeks through the side of the cup.
It gives the dessert that lovely homemade look.
Step 5: Prepare the Rainbow Fruit
For the final fruit layer, I choose several bright colors.
Mango gives us sunny yellow-orange pieces, kiwi brings fresh green, and apple or pear adds a little light-colored contrast.
Dice the fruit into small, manageable pieces.
For younger children, adjust the size and texture to reduce choking risks.
I prefer ripe fruit because it tastes naturally sweet and is easier to chew.
You can also use other fruits that your child already enjoys.
Step 6: Create the Rainbow Topping
Gently arrange the diced fruit over the top yogurt layer.
You can group the colors into small sections or scatter them for a more playful appearance.
I like adding the mango first, followed by kiwi and apple.
A few extra berries make everything look even brighter.
And just like that, your ordinary yogurt has transformed into a tiny rainbow dessert.
Who knew a spoon and some fruit could accomplish so much?
Step 7: Add the Finishing Touch
This is my favorite part.
If I’m making the cups for a special lunchbox, I add a tiny pinch of colorful edible sprinkles.
Not a mountain of sprinkles.
Just enough to make the dessert feel festive.
For everyday lunches, they’re entirely optional. The fruit already provides plenty of beautiful color.
Then I close each container with a secure lid and refrigerate it promptly.
For school lunches, I use a durable, leakproof, school-approved food container rather than glass.
Why I Love These Fruit and Yogurt Cups for Kids
I enjoy making desserts that are fun to look at but also contribute something useful to a child’s meal.
These fruit and yogurt cups for kids offer several nutritional benefits.
Yogurt Can Provide Calcium and Protein
Dairy yogurt can be a source of calcium, a mineral important for normal bone and tooth development.
Many yogurts also provide protein.
The exact amounts depend on the brand and type, so I always recommend checking the nutrition label.
Fresh Fruit Provides Fiber and Vitamins
Different fruits contribute different nutrients.
Kiwi and strawberries can provide vitamin C, while apples and pears contribute fiber.
Mango offers additional vitamins and a naturally sweet flavor.
Using several fruit varieties is a simple way to add variety to the overall diet.
A Sweet Dessert Doesn’t Need to Be Complicated
I don’t believe children need a perfect-looking dessert every day.
And I certainly don’t believe we should label foods as rewards for finishing something else.
Sometimes, dessert can simply be another enjoyable part of lunch.
A small cup of yogurt and fruit is an easy way to offer familiar ingredients in a different presentation.
My Favorite Fruit Combinations
One wonderful thing about this fruit yogurt lunchbox dessert is how easy it is to customize.
If mango isn’t available, try peaches.
If your child dislikes kiwi, use another fruit they enjoy.
You could even create a red-and-white version with strawberries and yogurt.
I try to choose fruits that hold their shape and don’t release too much liquid.
Very juicy or frozen-thawed fruit can make the yogurt layers watery.
Whatever combination you choose, the goal is to create something your child will enjoy—not to win a fruit-arranging competition.
How to Pack Yogurt Cups for School
Because yogurt and cut fruit are perishable, safe storage matters.
I prepare these cups close to the time they’ll be eaten when possible, especially if I want the fruit to stay fresh-looking.
Keep them refrigerated at 40°F (4°C) or below.
For school, use a small, sealed, leakproof container placed upright inside an insulated lunch bag with at least two cold sources.
If making the cups ahead, I prefer assembling them the night before and keeping them refrigerated until packing.
For the best presentation, add decorative sprinkles shortly before serving because they can soften and release color.
The Perfect Sweet Ending to Lunchbox #8
I included these rainbow fruit and yogurt cups in School Lunchbox Idea #8.
They’re the sweet finishing touch to a lunch featuring garlic-yogurt chicken skewers and colorful bow-tie tuna pasta salad.
The combination offers several food groups, fun textures, and plenty of color.
Want to see how everything fits together?
Explore the Complete School Lunchbox Idea #8
You can also find the matching recipes here:
One Tiny Cup, One Happy Little Moment
I love recipes that remind me good food doesn’t need to be complicated.
Sometimes, it’s just a few colorful fruits, a spoonful of yogurt, and five extra minutes in the kitchen.
These fruit and yogurt cups for kids are proof that even the smallest lunchbox compartment can hold something special.
And if your little ones have a sweet tooth, don’t miss my Mini Almond Tartlets! They’re another adorable homemade treat I love making when we want something a little extra special.
💗 Love colorful recipes and little kitchen surprises? Join me on LunchboxBloom’s Facebook page! Every day, I share new recipes, easy lunchbox ideas, clever mom tips, fun stories, and my favorite secrets for making family mealtimes more enjoyable. I’d love to see you there!